Darn it
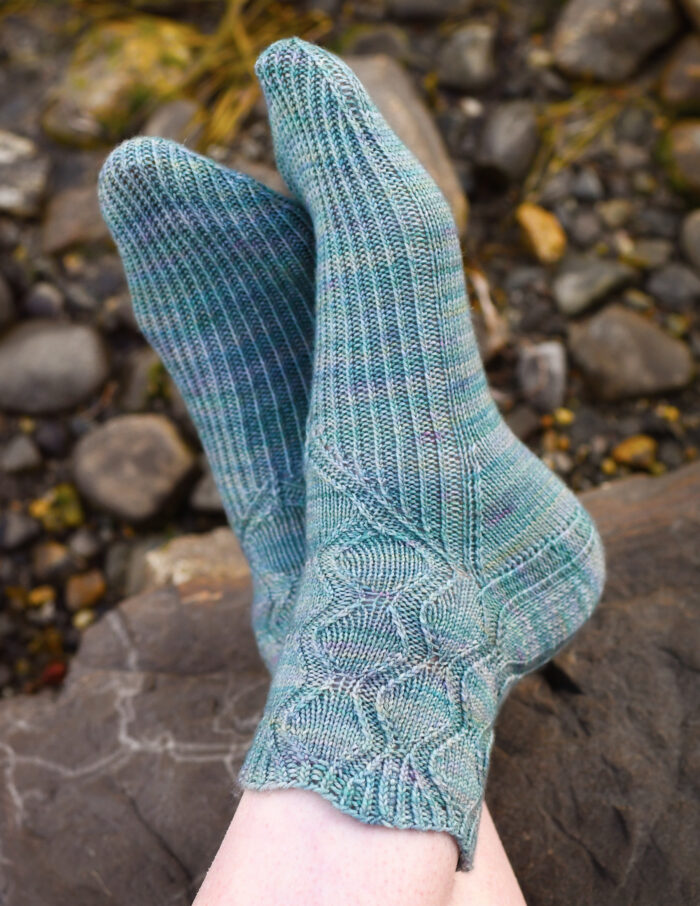
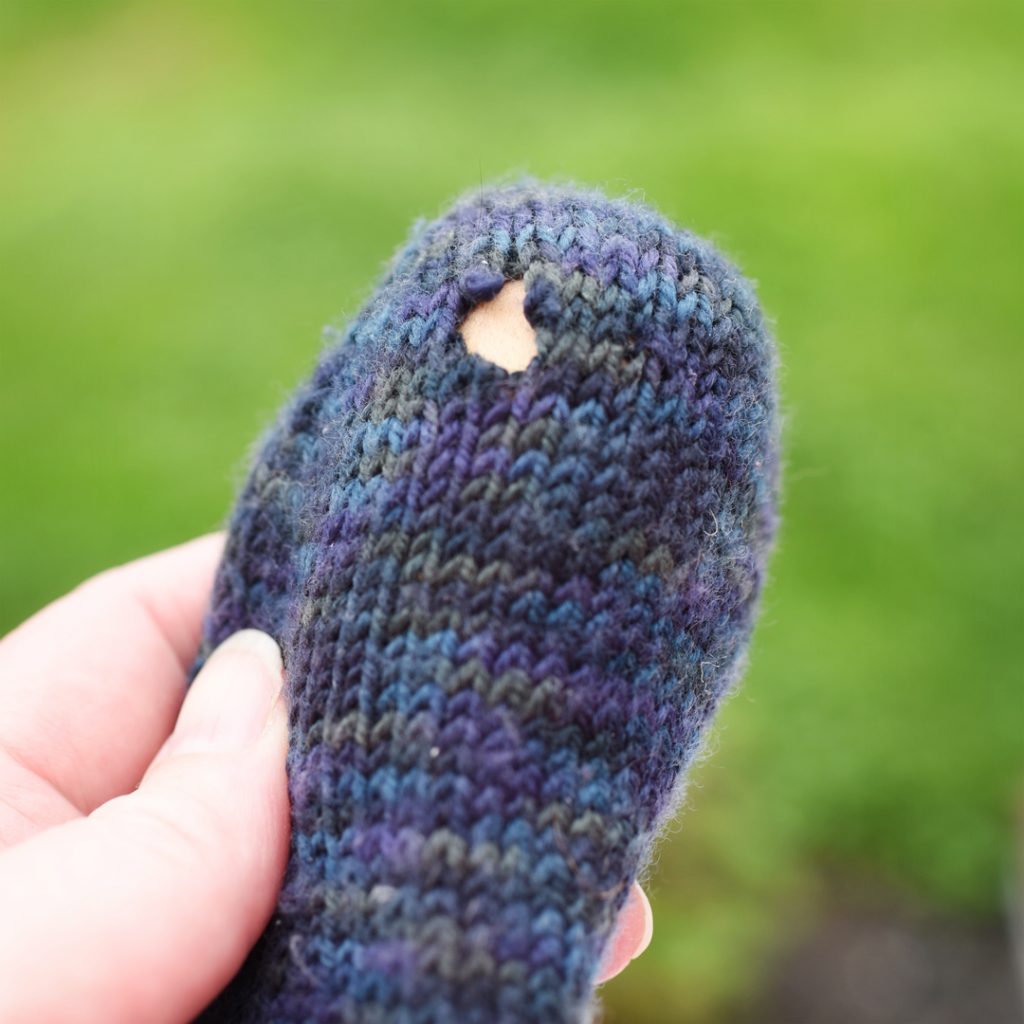
I managed to get a funny hole in my sock. It’s on top of the toes (not a spot where I usually get a lot of wear), and closer examination revealed that it’s just one popped strand. There’s no sign of wear (the fabric around it isn’t thin), so my guess is it just got caught on something (kitten claws are a distinct possibility) and snapped. This is easy to fix…
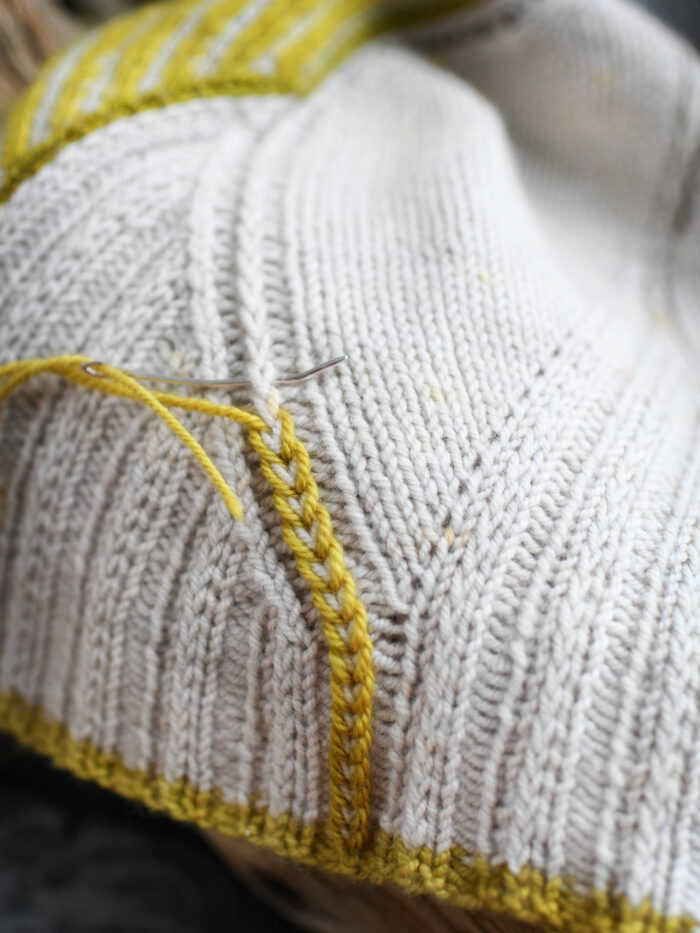
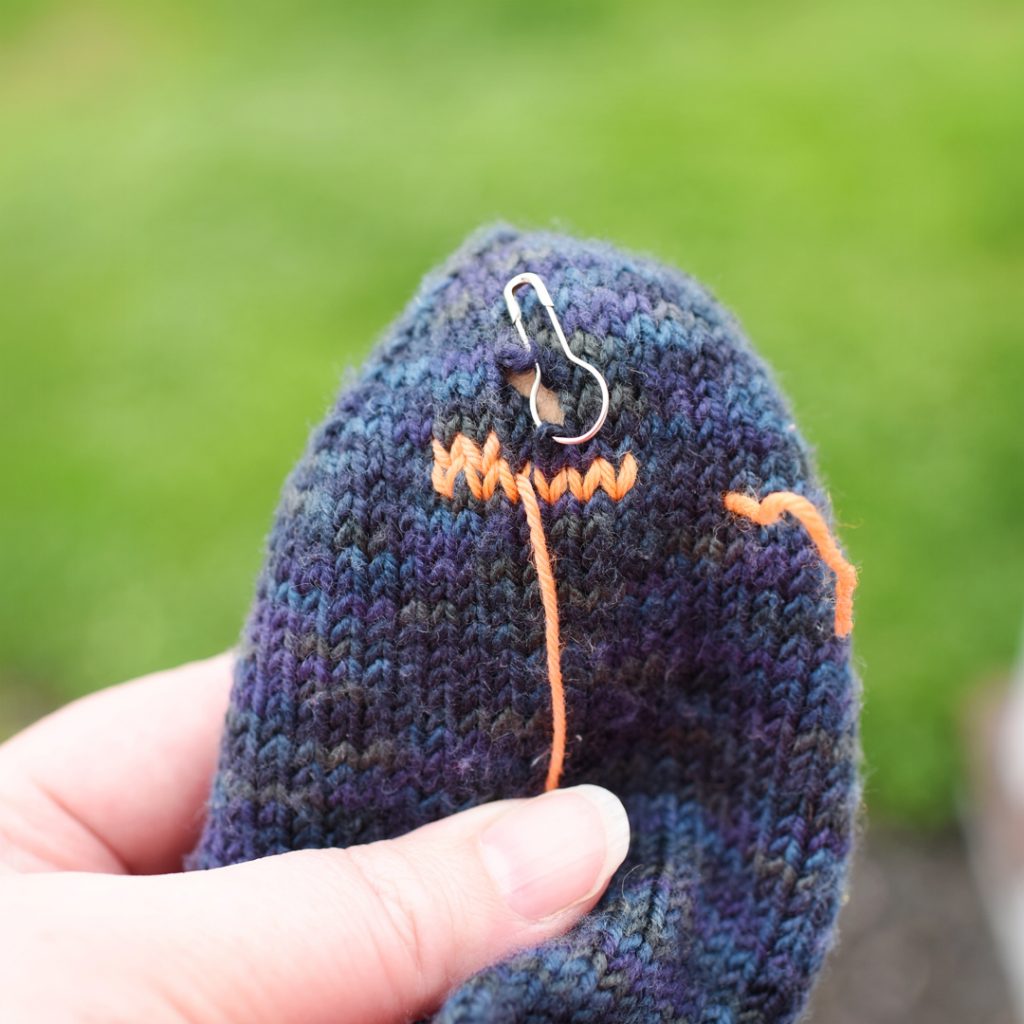
I started by securing the freestanding stitch with one of my very favorite safety pins/stitch markers (as always, amazon links are affiliate links). The strand that broke is directly above this stitch. The safety pin keeps the dangling stitch from running down any farther and makes it easier to recreate the fabric around and over the hole. Then I moved out a few rows below and to the side of the hole (when in doubt go bigger) and started duplicate stitching over the existing fabric.
When I got to the row with the pinned stitch, I kept on duplicate stitching, just following the path of the existing yarn like I had been all along. That meant going right through the pin. The pin helps make the new stitch the right size and keeps the damaged fabric stabilized while I’m working.
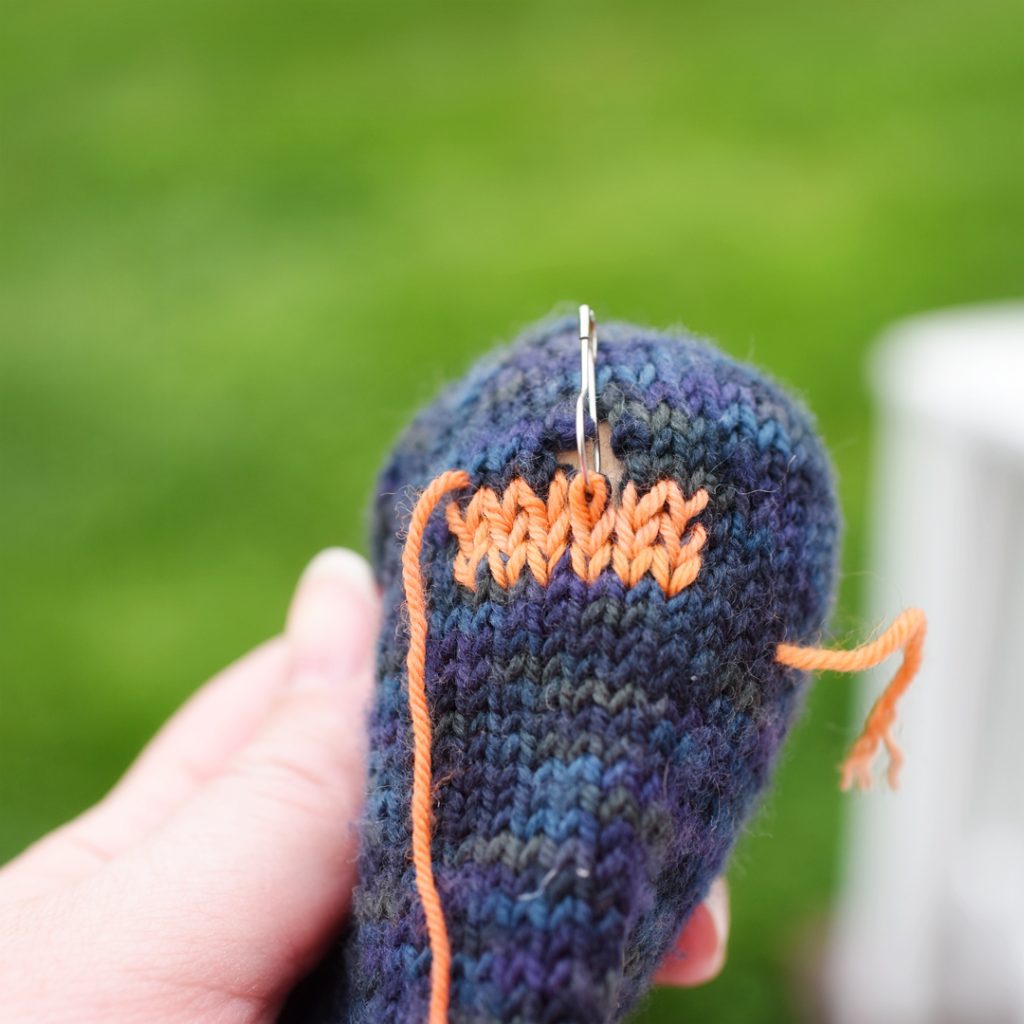
On the row where the broken stitch means there’s actually missing fabric, I used the outside edge of the pin as a guide. I just wraped the yarn around it to make the missing stitch. This is the only spot where I was actually creating totally new fabric (instead of tracing the path of existing fabric). It’s easy enough when you’re only dealing with one stitch, but if there were more, I’d use one pin per column of bad stitches (and it does get trickier if there are lots of missing stitches…though it can be done).
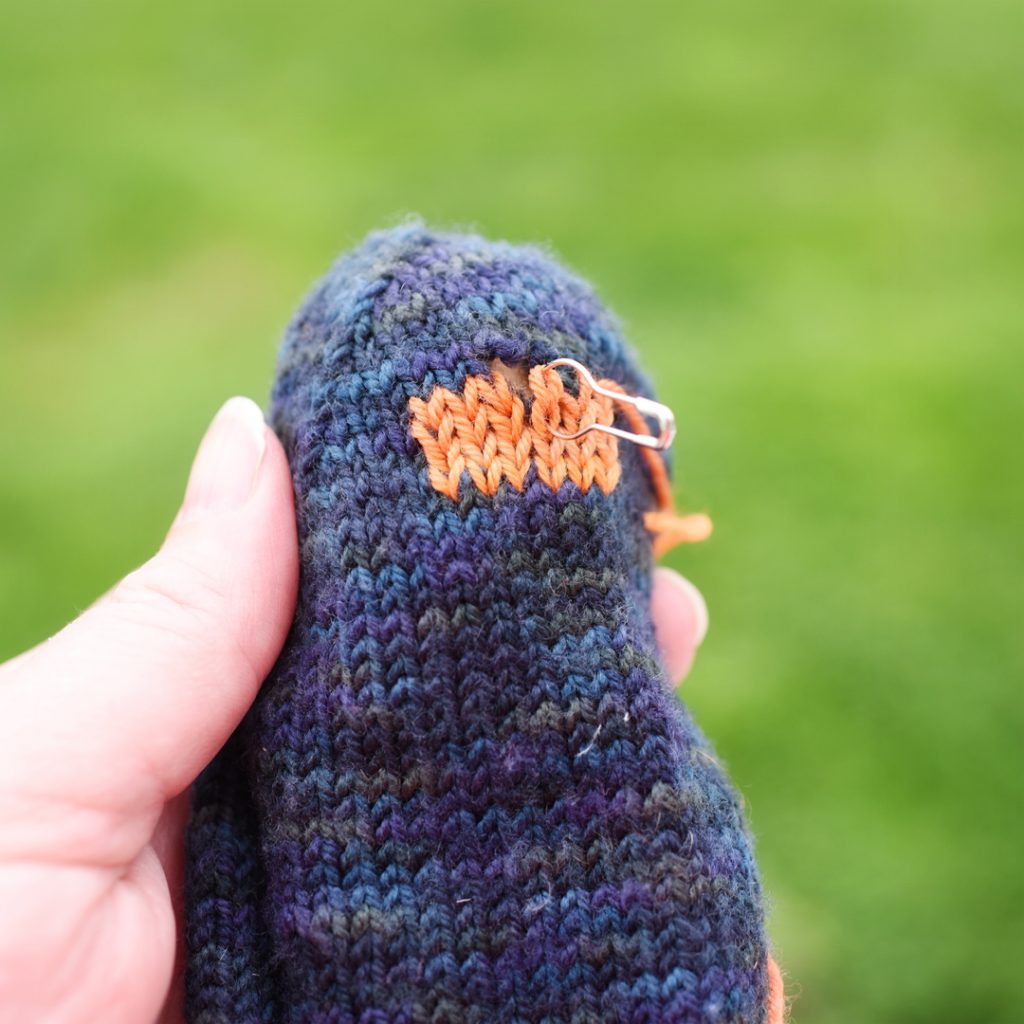
Once I was past the hole, I just did a few more rows to finish it off and called it good. The pin stayed in the same place the whole time and made it much easier to line up the stitches where the underlying thread was gone (and kept the hole from getting bigger as I tugged on the surrounding fabric as I worked).

If this had been a hole caused by wear I would have used thicker yarn and made a bigger patch. But since this is just a snapped strand, this should take care of stabilizing it and make the socks fine for many more wearings. The whole thing took about fifteen minutes (and would have taken less if I’d not been taking pictures), which seems like a fine investment to keep using something that probably took twenty hours to make in the first place.
Mailing List
Want to hear when a new pattern comes out or something fun is going on? Sign up below!
Patreon
Want to support the content I create, get nifty bonus material for some of my favorite patterns, or get every new release delivered right to your inbox? Head over to patreon and sign up!