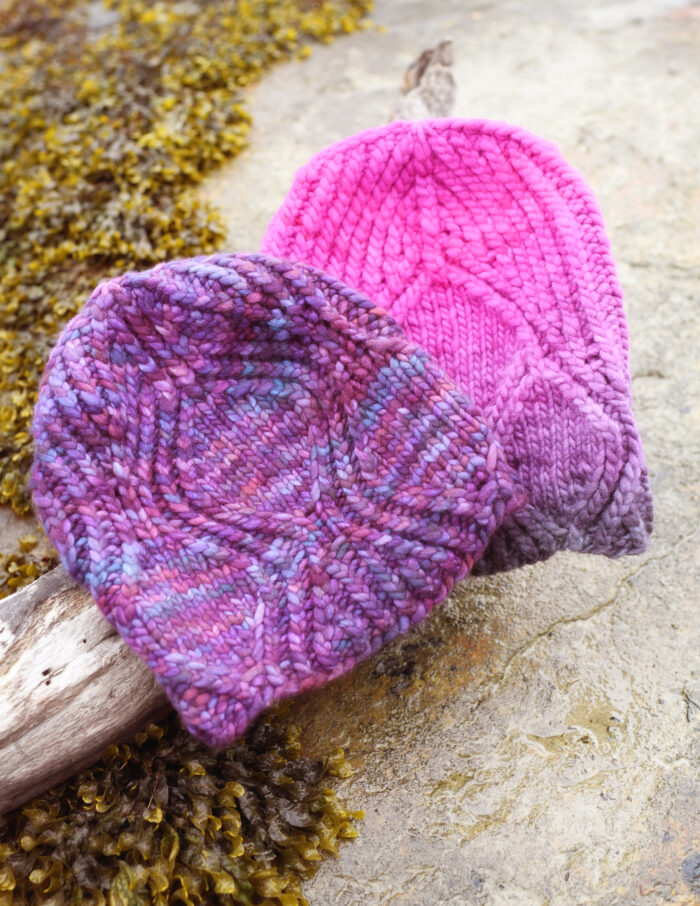
Blocking 201 – Flared Cuffs
So, I’ve given this lecture before, but everything you knit can benefit from being blocked. Everything. And if you’ve been around long enough to hear that lecture, you’ve been around long enough to know about my love for flared cuffs. So of course I have a way to block them too!
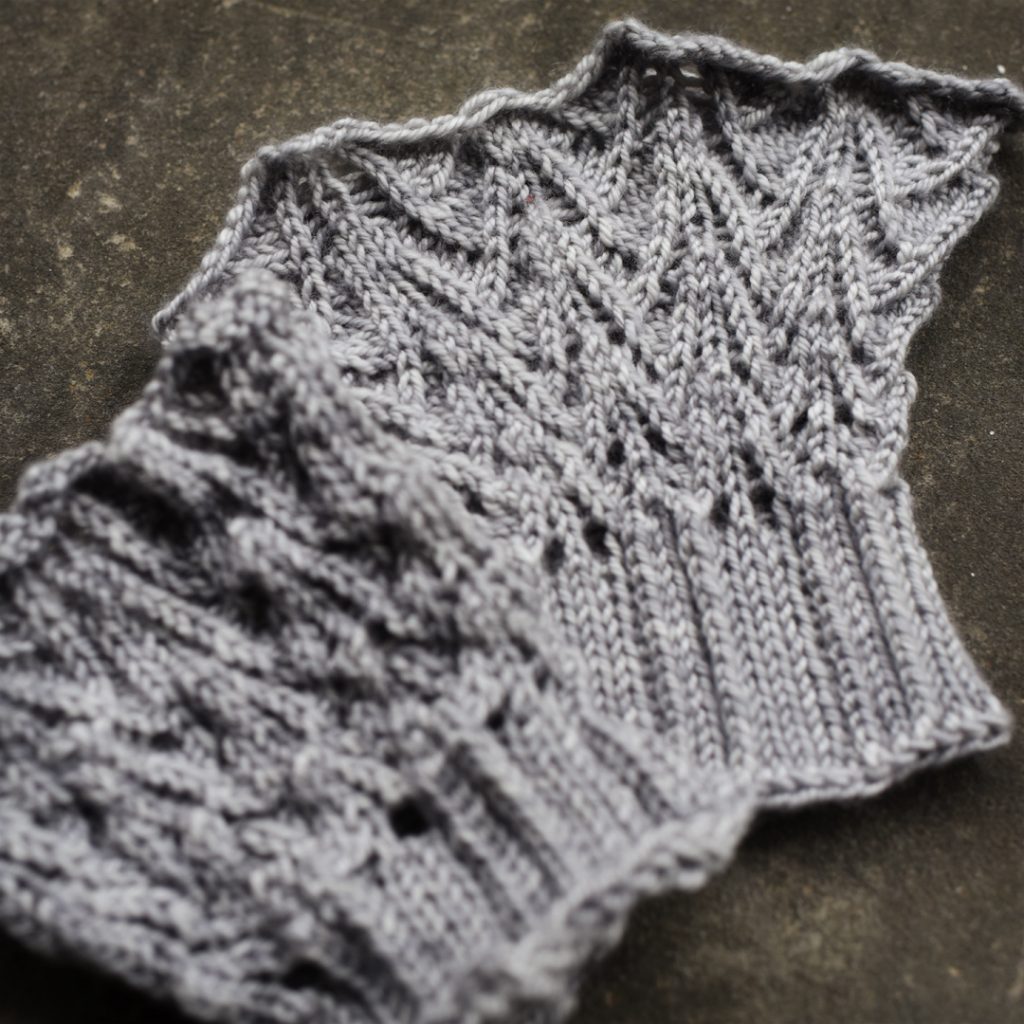
Let’s break this down. You’ve got a few goals here. One is to stretch the lace out evenly so you can see the pretty stitches you worked so hard on. Another is to make sure the wrist is nice and straight. And the final one is to have the whole thing dry without any creases (which you’d get if you pinned it out flat).
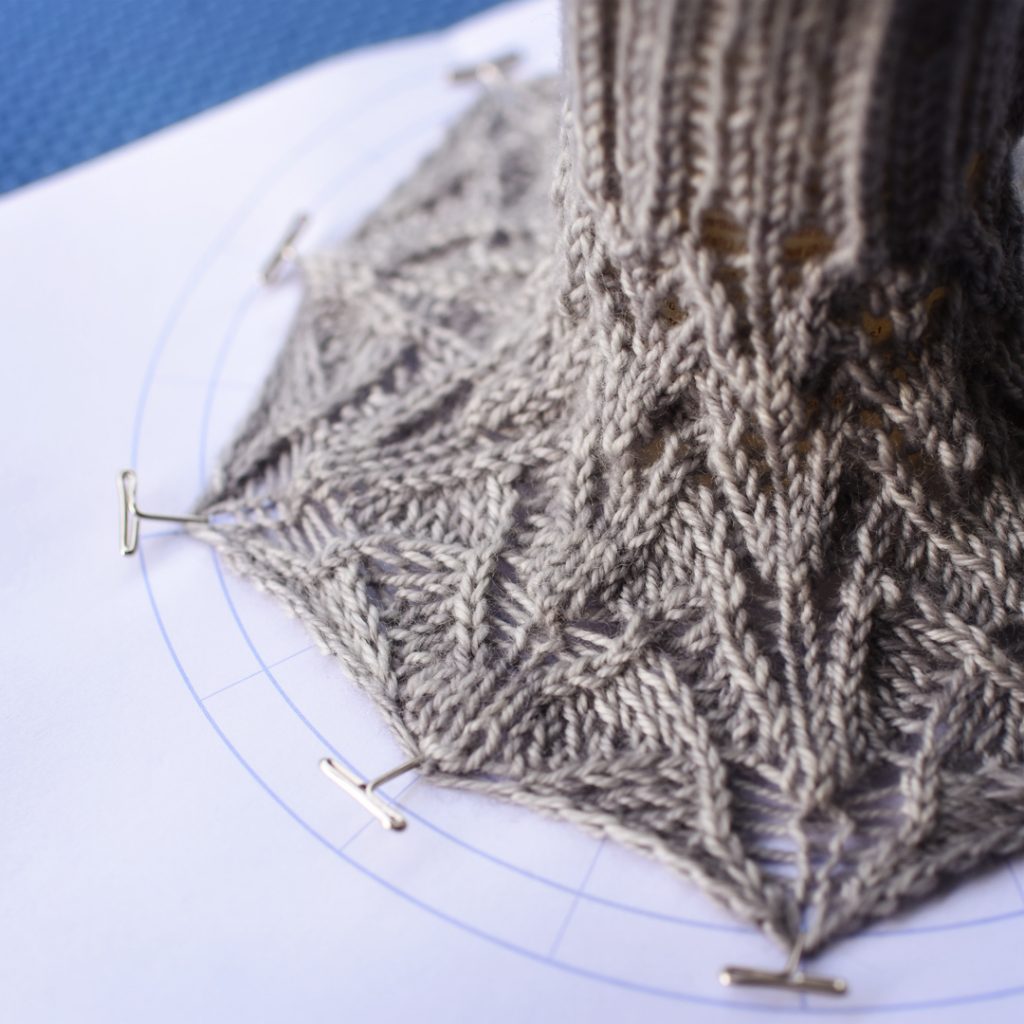
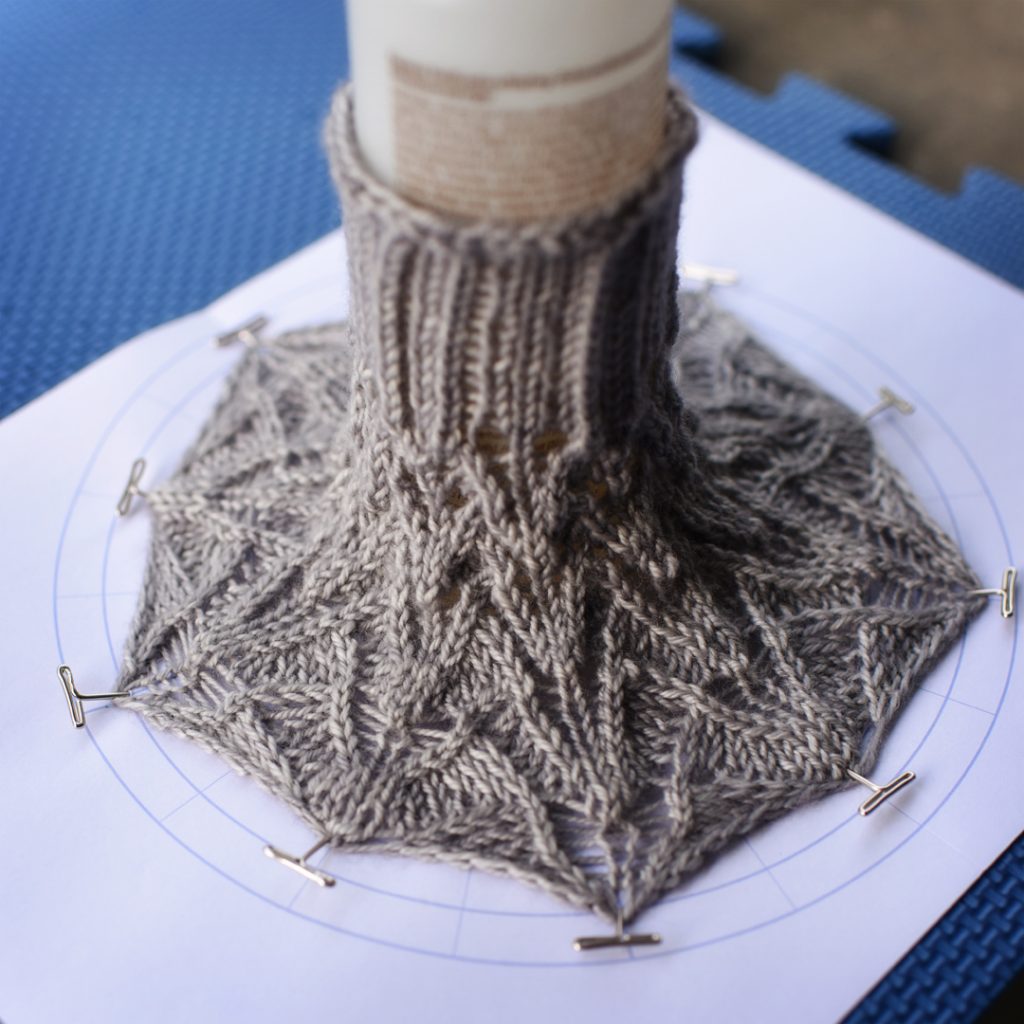
You can totally pull this off, you just need a few tools. First, and most magical, some custom graph paper. I make mine here (it’s free and awesome). For this cuff, the main stitch pattern is repeated 5 times, so I had the graph paper have 5 main spokes and 20 secondary spokes. That let me pin out the edges and the middle of each stitch pattern repeat. It’s so much easier to use this as a guide than to try and eyeball it.
Second, you need your usual blocking stuff. You’ll need a mat and some T-pins (do yourself a favor and get the long ones, as always, amazon links are affiliate links).
And finally, you need something to go in the middle. This is the one bit I can’t tell you exactly where to find. Here I’m using a bottle of hair stuff, but I’ve used all sorts of things in the past (shampoo bottles, a bottle of fancy vinegar, a vase…look around in your bathroom or pantry, I bet you have half a dozen things you can use).
All you need to do is put the graph paper on the mat, plop whatever you’re using for the middle on the center of your graph paper (you can hold it in place with a loop of tape if you want, but it’s optional), slide your knitting over it, and start pinning it out. I start by finding the main points I want to pin (in this case the start of each pattern repeat) and pinning them out under just a bit of tension. Then I work my way around the circle, moving the pins out one ring at a time, until I get the tension I’m going for (make sure all the pins are on the same ring when you’re done). Once that’s done I sometimes pin a secondary point (in this case the midpoint of each repeat, pinned one ring closer to the center than the other points).
That’s all there is to it. It takes about ten minutes (half of that is finding something to use in the middle). And it makes a huge difference!
And, if there’s just absolutely no way you’ll ever ever ever do this, at least take a look at yesterday’s post for some discussion of a simpler alternative that accomplishes some of the same magic.
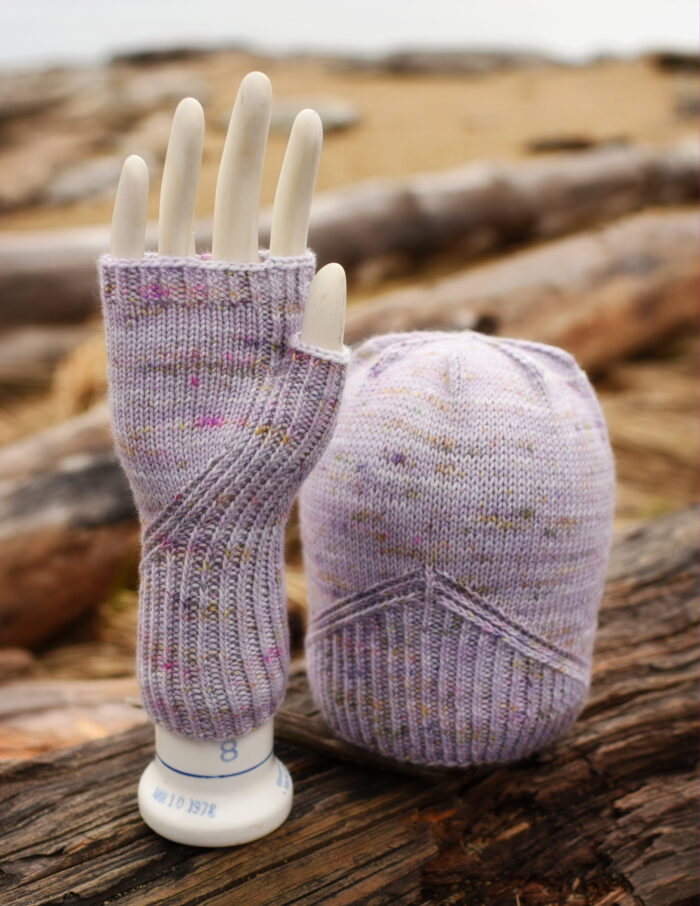
You can find similar blocking rants for hats and cowls in earlier posts, in case you want more of me being super bossy and telling you what to do!
[pextestim pex_attr_set=”looking-for-this-pattern” pex_attr_autoplay=”false”][/pextestim]
Mailing List
Want to hear when a new pattern comes out or something fun is going on? Sign up below!
Patreon
Want to support the content I create, get nifty bonus material for some of my favorite patterns, or get every new release delivered right to your inbox? Head over to patreon and sign up!