Precise
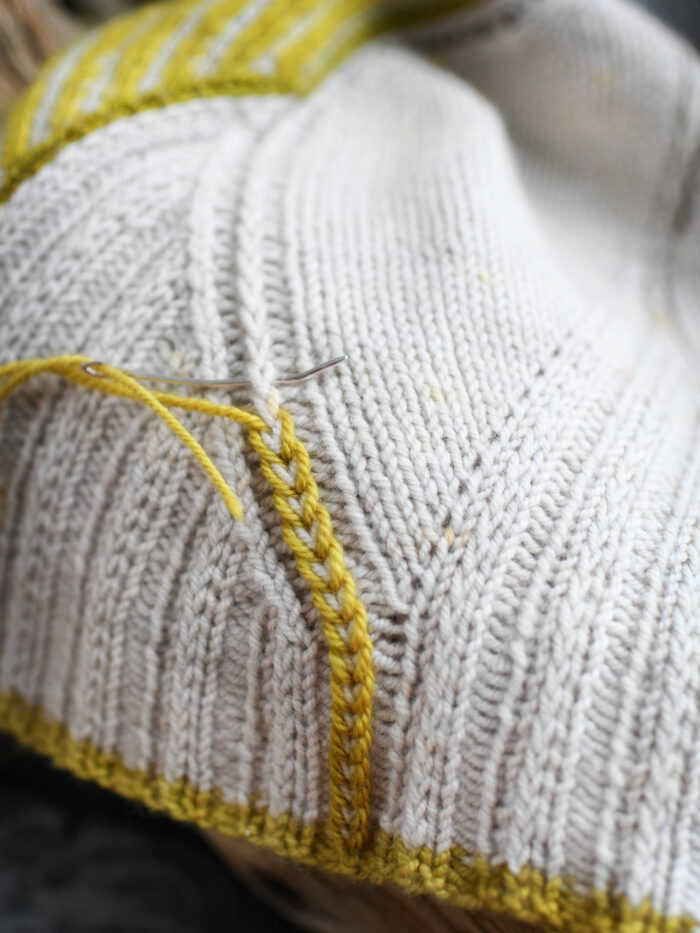
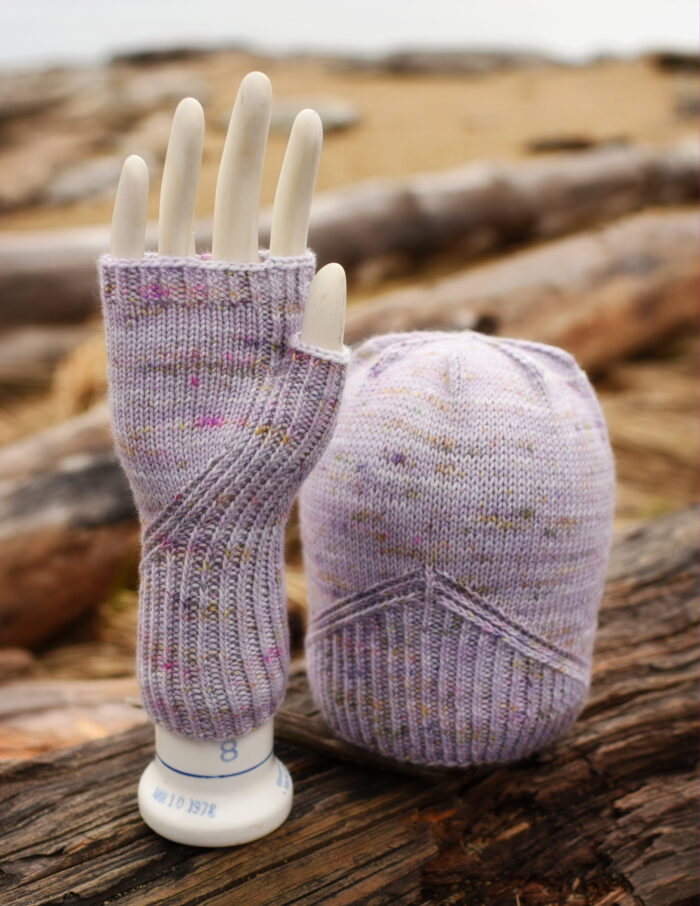
So the cuffs are done (yes, both!) and will be showing themselves off with proper photos any moment now. But before you can take the pretty photos, you have to block the knitting. Blocking flared cuffs can be a bit perplexing. You want the wrist nice and round, and the bottom all spread out. You can put them on a mitt blocker (if you’re lucky enough to have such a thing) and then lay them down on a mat and pin out the flare. But that takes forever to dry and leaves you with a crease where it was folded in half. I like to do it this way instead.
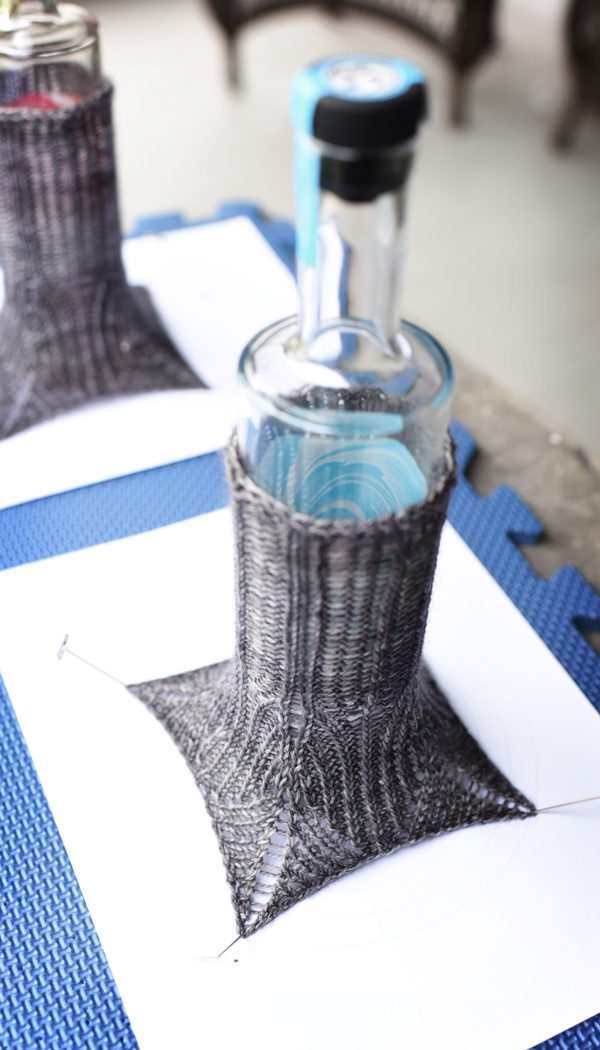 That’s a handy bottle, a piece of custom graph paper (I know the lines are faint, I didn’t think about how they’d look in the picture when I printed it, but if you look closely you can see them), and my blocking mat.
The graph paper is really the secret. For this size of cuff, I’ve got four points. I could more or less eyeball even quarters if I had to. But if you size this up or down, you could have a different number of points. With the custom graph paper, you can make a sheet with your circle divided into thirds or fourths or fifths or whatever it is you happen to need. It really works beautifully every time and is totally one of the handy blocking tricks everyone should have in their arsenal.
Mailing List
Want to hear when a new pattern comes out or something fun is going on? Sign up below!
Patreon
Want to support the content I create, get nifty bonus material for some of my favorite patterns, or get every new release delivered right to your inbox? Head over to patreon and sign up!